How Make A Curly Hair Routine, Part Two
Ready to try the curly girl method but don’t know how to start or make a curly hair routine? You’ve come to the right place!
There’s so much information about the curly girl method that knowing where to start can be a bit overwhelming. I definitely struggled knowing where to start, what products best suited my hair, and how to apply them all to start living my curly hair dream.
Before we get into it, this is a two-part post and you should definitely go back and read part one if you haven’t already. There’s a bit of assumed knowledge below, like how silicones an sulfates work, and you’ll get a lot more out of the post below if you’re familiar with those terms to start with. On top of that, part one will help you determine what products might work best for your hair type.
Finished part one? Let’s go!


What You Will need
The trick to figuring out a curly hair regimen is to start simple with a few basic products:
Clarifyer: This is a one-off step to rid your hair of silicones, and the only way to do that is with a sulfate-heavy shampoo.
Pre-poo: This is an optional step before you wash your hair. Some people rub oils onto their scalp to fight dandruff, others detangle their hair with deep conditioner before washing - it’s up to you! I usually put Jamaican Black Castor Oil on my scalp the night before I wash it.
Cleanser: This is basically shampoo or a co-wash, but you want to find one with no sulfates or drying alcohols. Curlsbot is really good for determining what shampoos are terrible. I use Function of Beauty at the moment and I love it, but anything by Shea Moisture also works great.
Conditioner: I usually alternate between a deep conditioner and a regular conditioner. Again, I’m loving Function of Beauty at the moment.
Styler: You’ll need something to keep your curls in place after washing it. Because my hair is fine, I choose Not Your Mother’s Kinky Moves Curl Defining Hair Cream because it’s light on my hair and absorbs really well.
You might also want a brush or wide-tooth comb and a microfibre towel or cotton T-shirt.

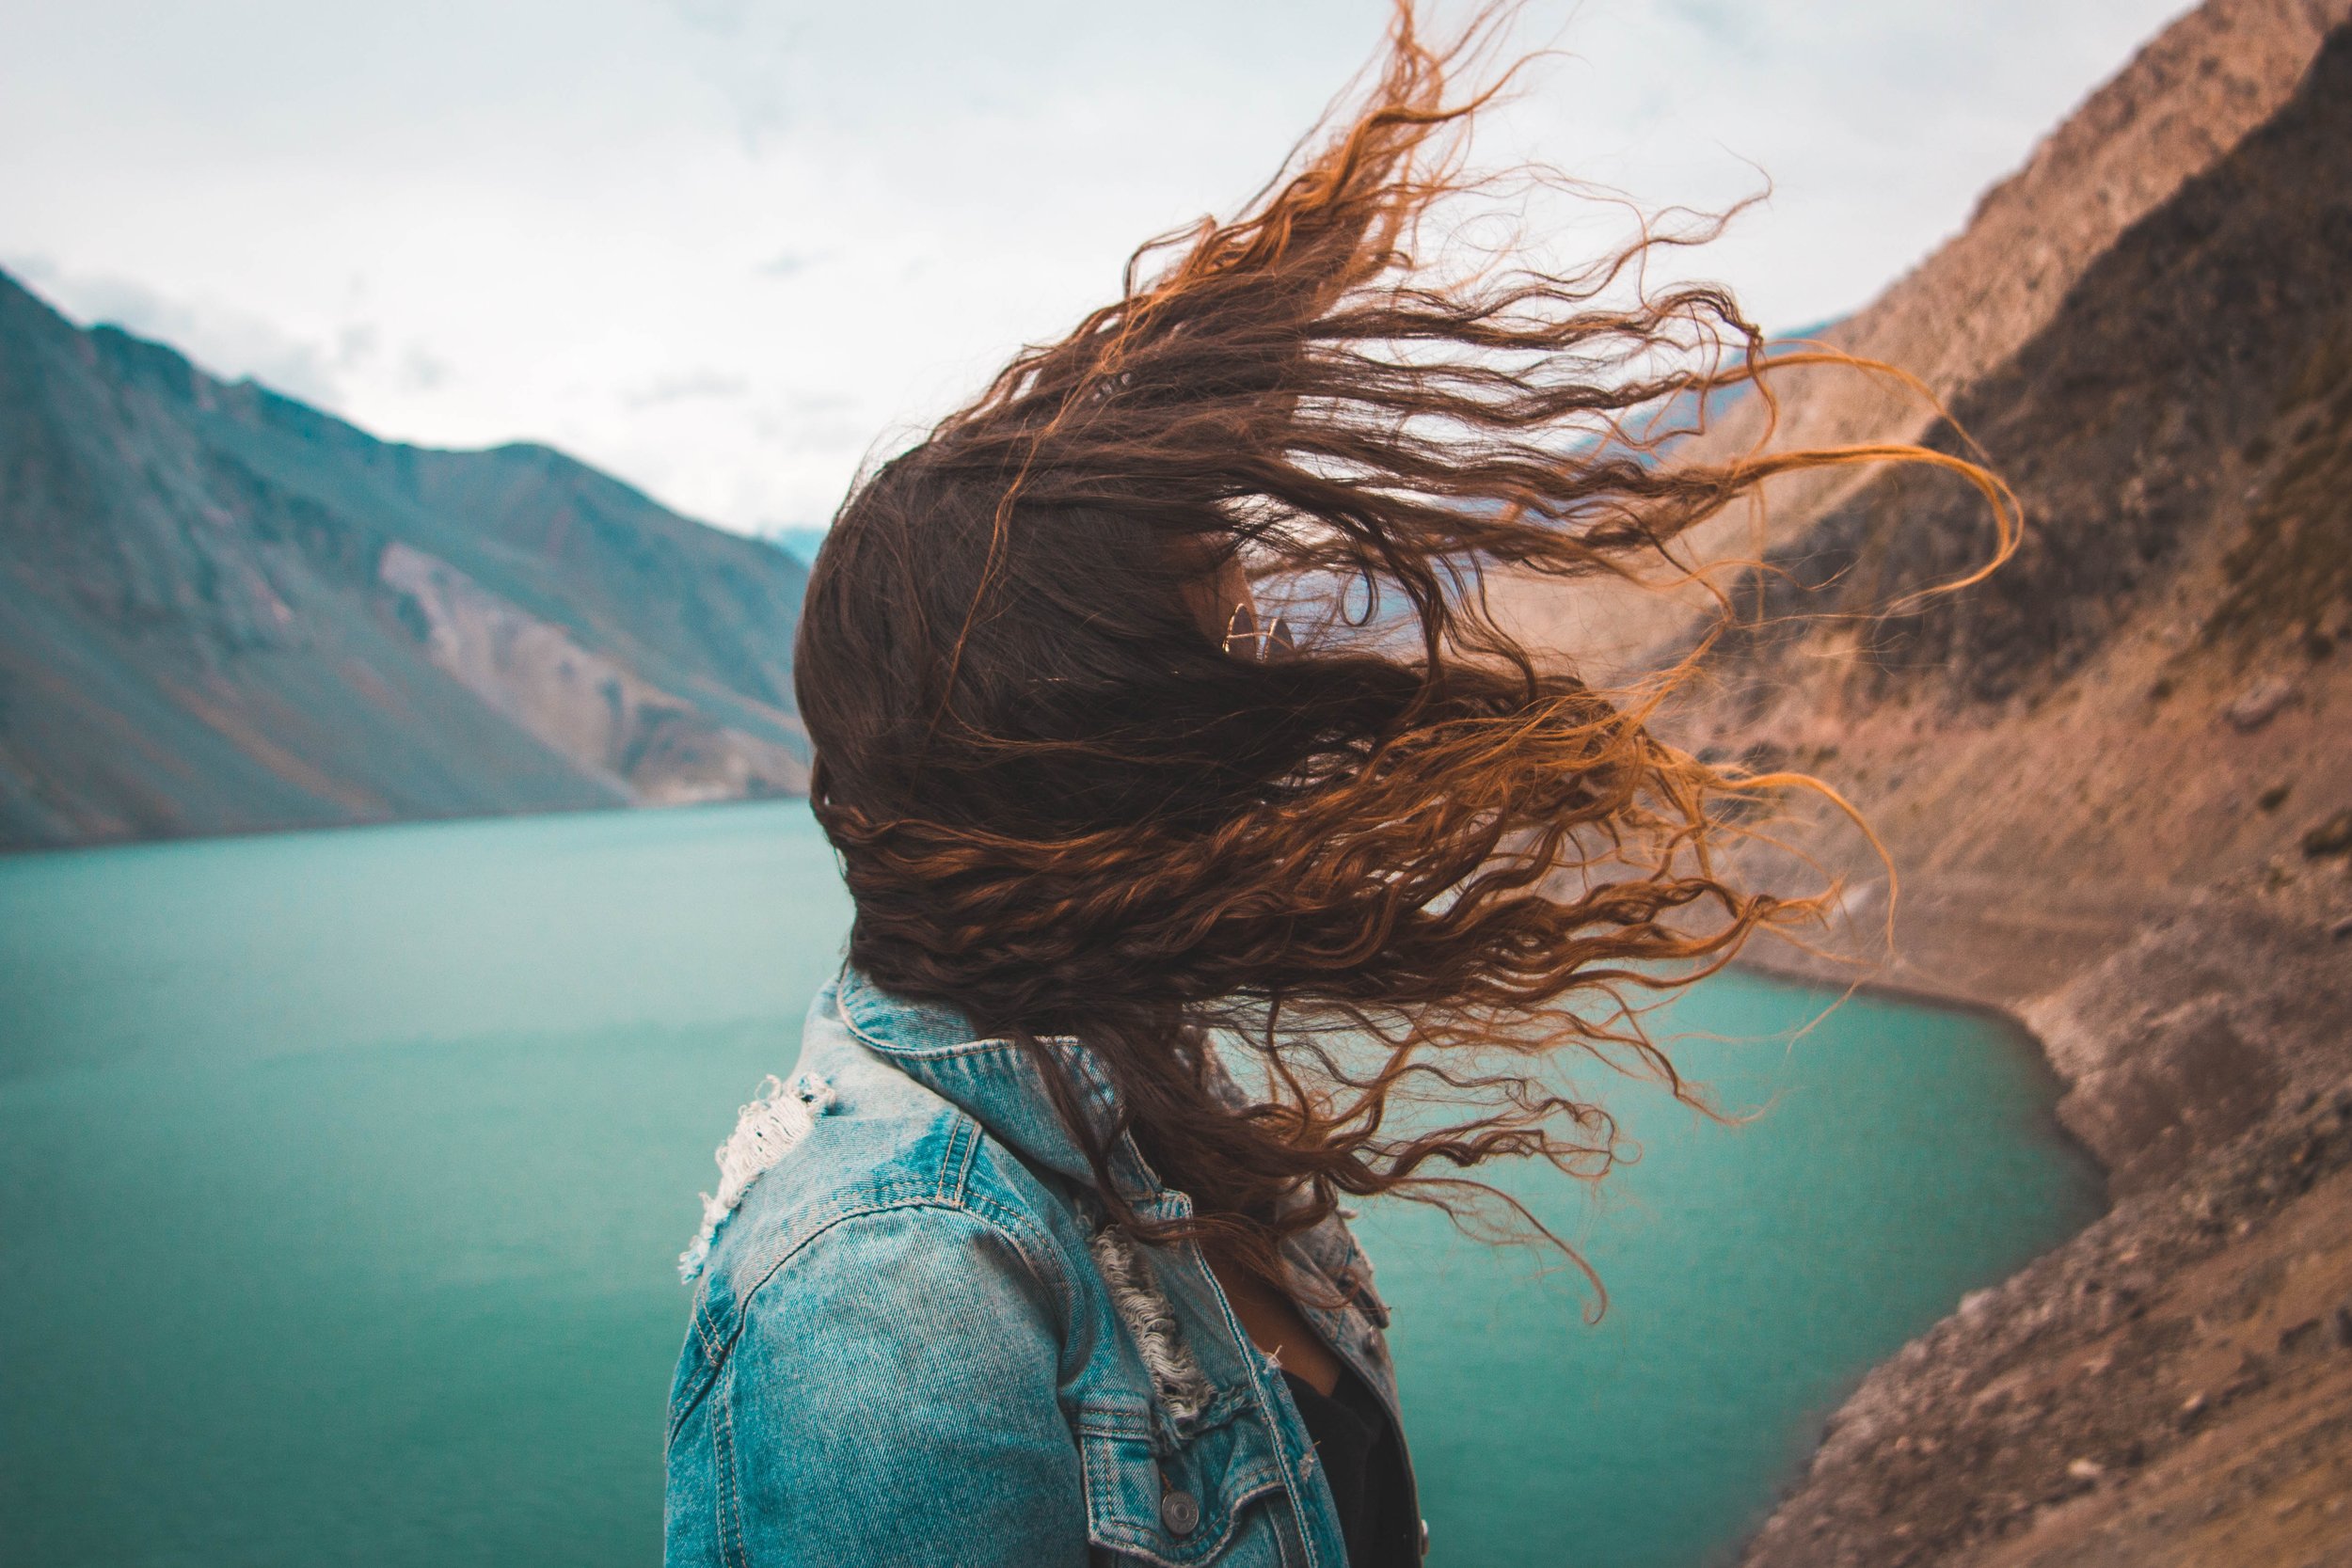
This is my hair as it dries. My curl pattern is far from uniform, but it falls nicely once it’s dry.
how to start a curly Girl routine
Step Zero: Clarify
If this is the first time trying the curly girl method, you’re going to want to jump in the shower and douse your head in a sulfate-heavy shampoo. This can be absolutely anything - you could even use dishwashing liquid here because (terrifyingly) it’s basically the same. The idea here is to get all the silicones out of your hair, and sulfates are the only way to do that. Foam it up, rinse it out, then never look at it again.
Step 1: Pre-Poo
As stated above, this is optional, but if you have really thick hair it can help with the detangling process, or it can provide some nourishment to your scalp - healthy scalps make healthy strands. I use Jamaican Black Castor Oil because it strengthens hair and, apparently, encourages growth which results in more hair on your head.
Since my hair is fine and the oil is really thick, I rub a small amount of oil between my fingers and massage it into my scalp the night before wash day, but you could do it 30 mins before you wash it and I’m sure that would be fine. I don’t drench it because I find it really difficult to get out, but if you have type 3 or 4 hair, or just really thick hair, you might want to use a lot more. It’s about trial and error - you’ll figure out what works for you in no time. You might want to wrap your hair in something if you’re leaving it in overnight so your pillow doesn’t get all oily.
You could also wet your hair before washing it and rake through deep conditioner to get all the tangles out so it’s easier to wash and detangle later.
Step 2: Wash
I get a small amount sulfate-free shampoo and massage it in to my scalp, using my fingertips to lift the oil off my skin. I don’t put shampoo down the length of my hair because I find that dries it out. Once it’s all over my scalp and thoroughly massaged in, I’ll rinse it out - ensuring the suds move down the length.

Step 3: Condition
Once the shampoo is out, I’ll use a pump of conditioner and start working it into the length. I don’t put conditioner up past my ears because it makes my hair really flat, but if you have thicker hair you might want to put it all over. I use my fingers to detangle it as much as possible. It can take a while, so be patient. Some people can detangle with their fingers alone, but I find the best results come with using a tangle-teaser or a wide-tooth comb. It just helps get those last stubborn strands nice and smooth.
When it’s all detangled, I’ll get a little more conditioner and literally squish it into the ends, or wherever it usually gets dry. I squeeze the hair up, encouraging the curl pattern, and let it sink in for a few minutes. No matter what conditioner you’re using, I recommend always letting it sit in your hair for a few minutes, rather than washing it out straight away. It gives the product time to sink into your hair and work its magic.
Option: People with thicker or dryer hair will often only rinse about half the conditioner out to ensure the hair stays nice and nourished.
Step 4: Styler
Once the conditioner is rinsed out, I tip my head upside down, brush it forward to make sure there are no tangles left. I get a little bit of styler and rake it through the length. Once I feel like it’s coated each strand, I’ll get the tangle-teaser and brush it through to make sure it’s everywhere. I then rake my fingers through it again until all of my hair is in about 6 clumps, before I use my palms to scrunch it up and encourage the curl pattern. I then get the microfibre towel and scrunch it up again, absorbing excess moisture.
Again, I usually don’t go up past my ears because I find it makes my scalp feel weird and stringy and producty, but I think that’s because my fine strands don’t absorb it properly near the roots. I also do this when it’s soaking wet because I find that gives the best results. Wet hair is far more receptive to product because the cuticles are open. When you hair is dry, the cuticles are closed and it’s much harder to get moisture in - it’ll usually just sit on top and look greasy.
Finally, I fold my hair into the microfibre towel - keeping the clumps in tact as much as possible - and leave it there for about 15-30 mins. Piling your hair into a towel (also called ‘plopping’…yes, it’s a terrible term) encourages the hair try dry in its curl pattern, rather than twisting it up in a traditional wrap which stretches it out.
Step 5: Drying
I find I get the biggest and best curls when I take it out of the towel, part it, let the clumps fall where they want and don’t touch it until it’s dry. I used to take it out and shake it around to separate the clumps, but the result is flatter curls. Penny Tovar has a good tutorial on how to do it. She uses a shirt but, as she says, they get pretty wet pretty quickly so I prefer to use a microfibre towel.
I always let my hair air dry, but if this isn’t an option for you I recommend using heat on a very low setting.
Options: Some people will diffuse their hair with cold air for more volume, but it can take about 45 mins. I tried once or twice, but I got 10 mins in and decided it wasn’t worth it, but something to keep in mind if you want more volume.
What’s next?
Test it out, see how your hair responds, and mix it up! As long as you follow the basic rules (as outlined in part one), you can’t go wrong.
