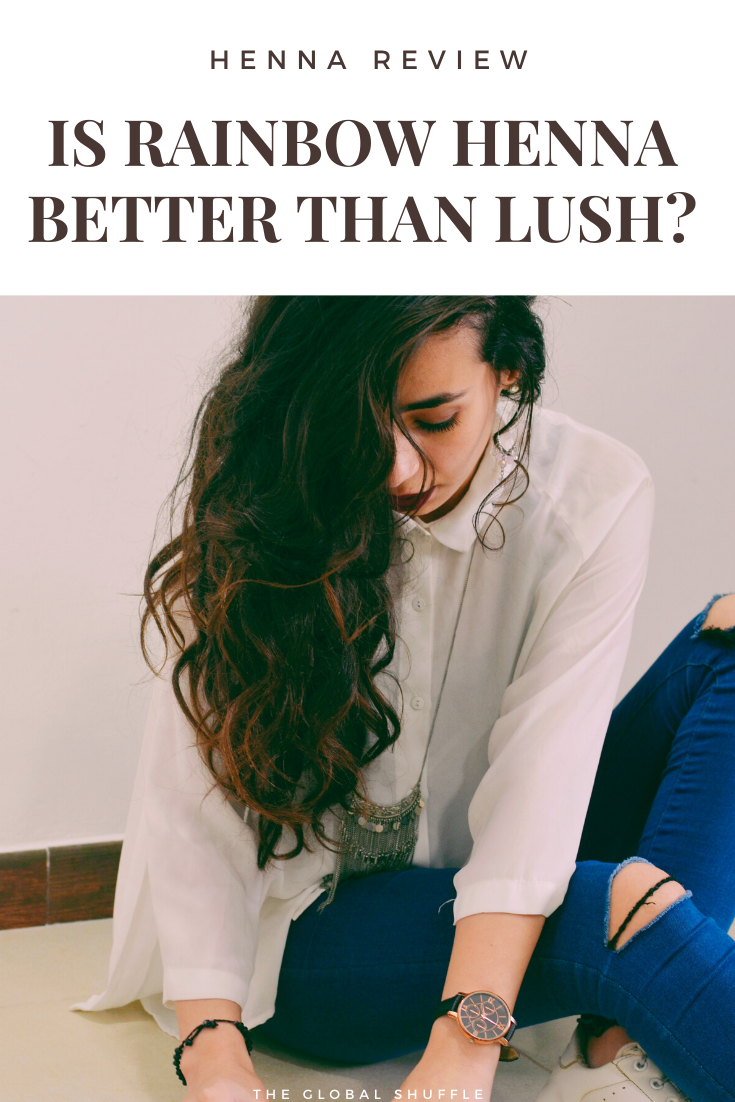
I Tried Lush Henna and Rainbow Henna. Here's What Happened.
I put Lush Henna and Rainbow Henna to the test. Here’s what happened.
Lush Henna and Rainbow Henna are probably the most popular natural dyes on the market. They both come in a few colours, they’re widely available and promise to have your hair looking amazing after use.
As I said in my Lush Henna review, I was blessed with grey hair from the ripe old age of 24, my hair is naturally very dark, and have been looking for a natural alternative to cover it up because my hair hates chemicals.
The problem is, henna isn’t really designed for hair that has different shades. It’s more of a natural stain that colours the hair in the same way that beetroot stains your skin when you touch it, but henna is more permanent.
Grey strands stain lighter than dark strands, so we’re looking for the one with the best coverage.
If you haven’t read my Lush Henna review, check it out!
(For a full list of pros and cons, scroll right to the end)
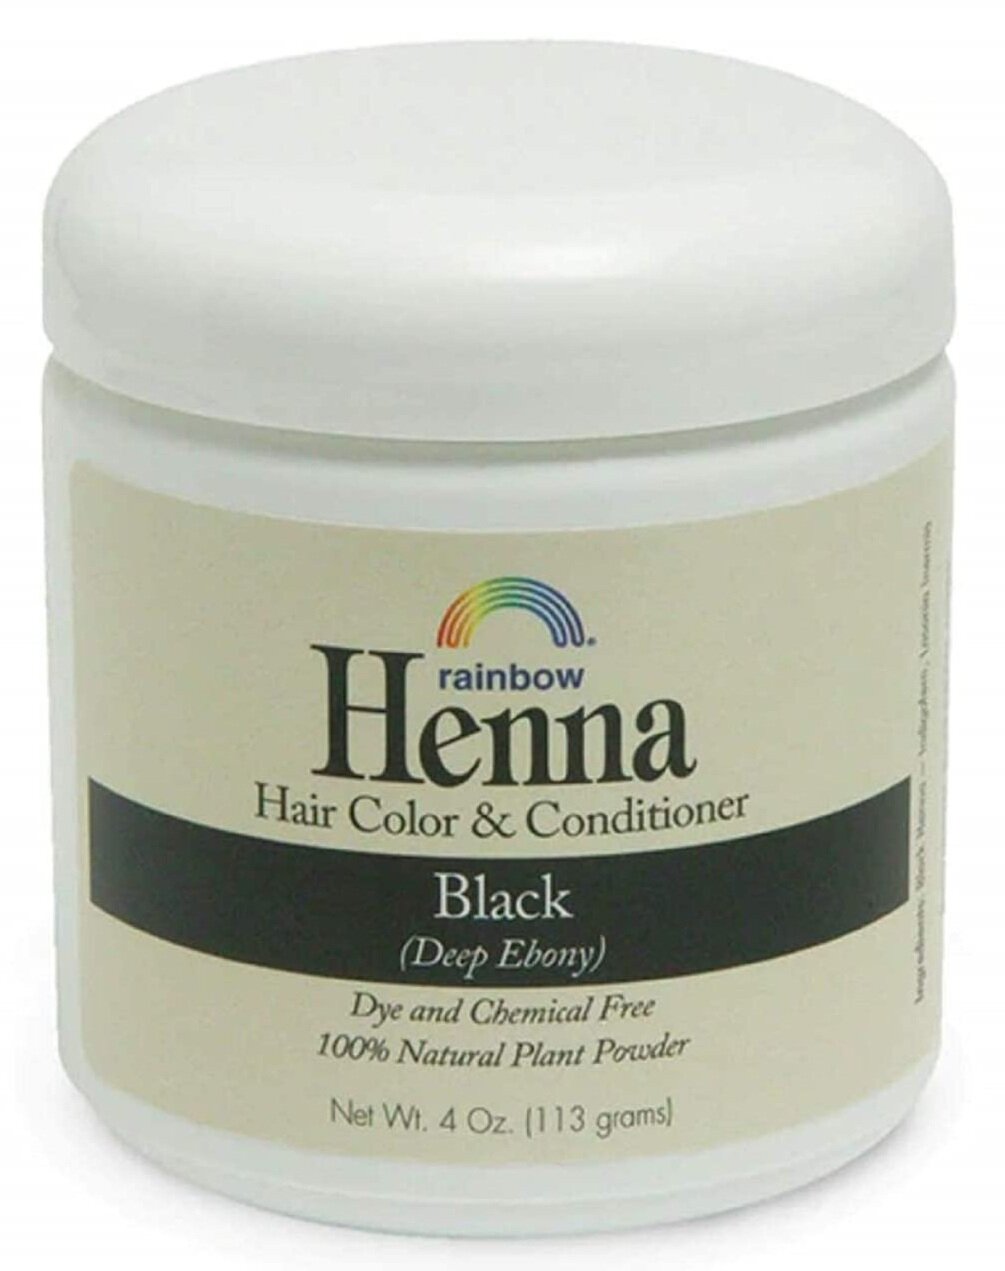
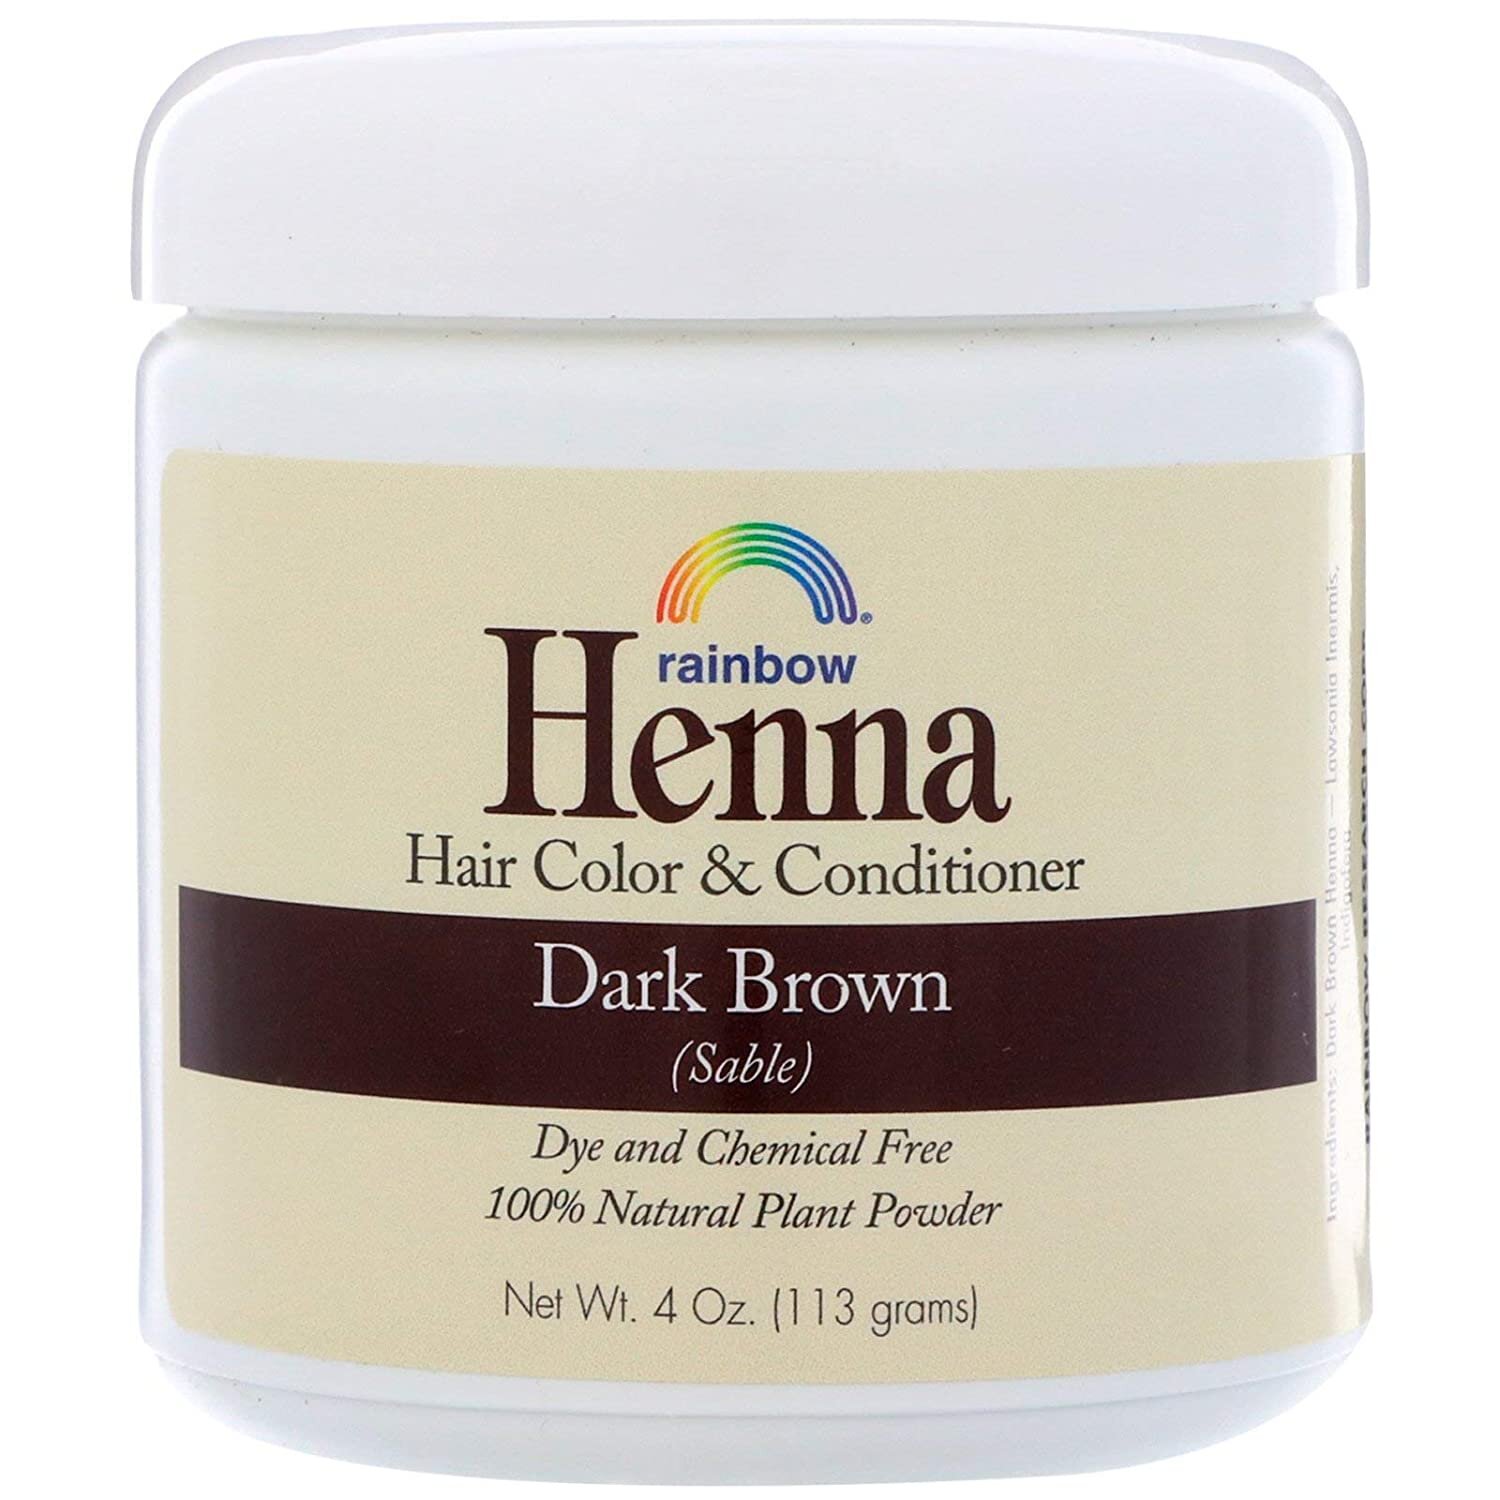
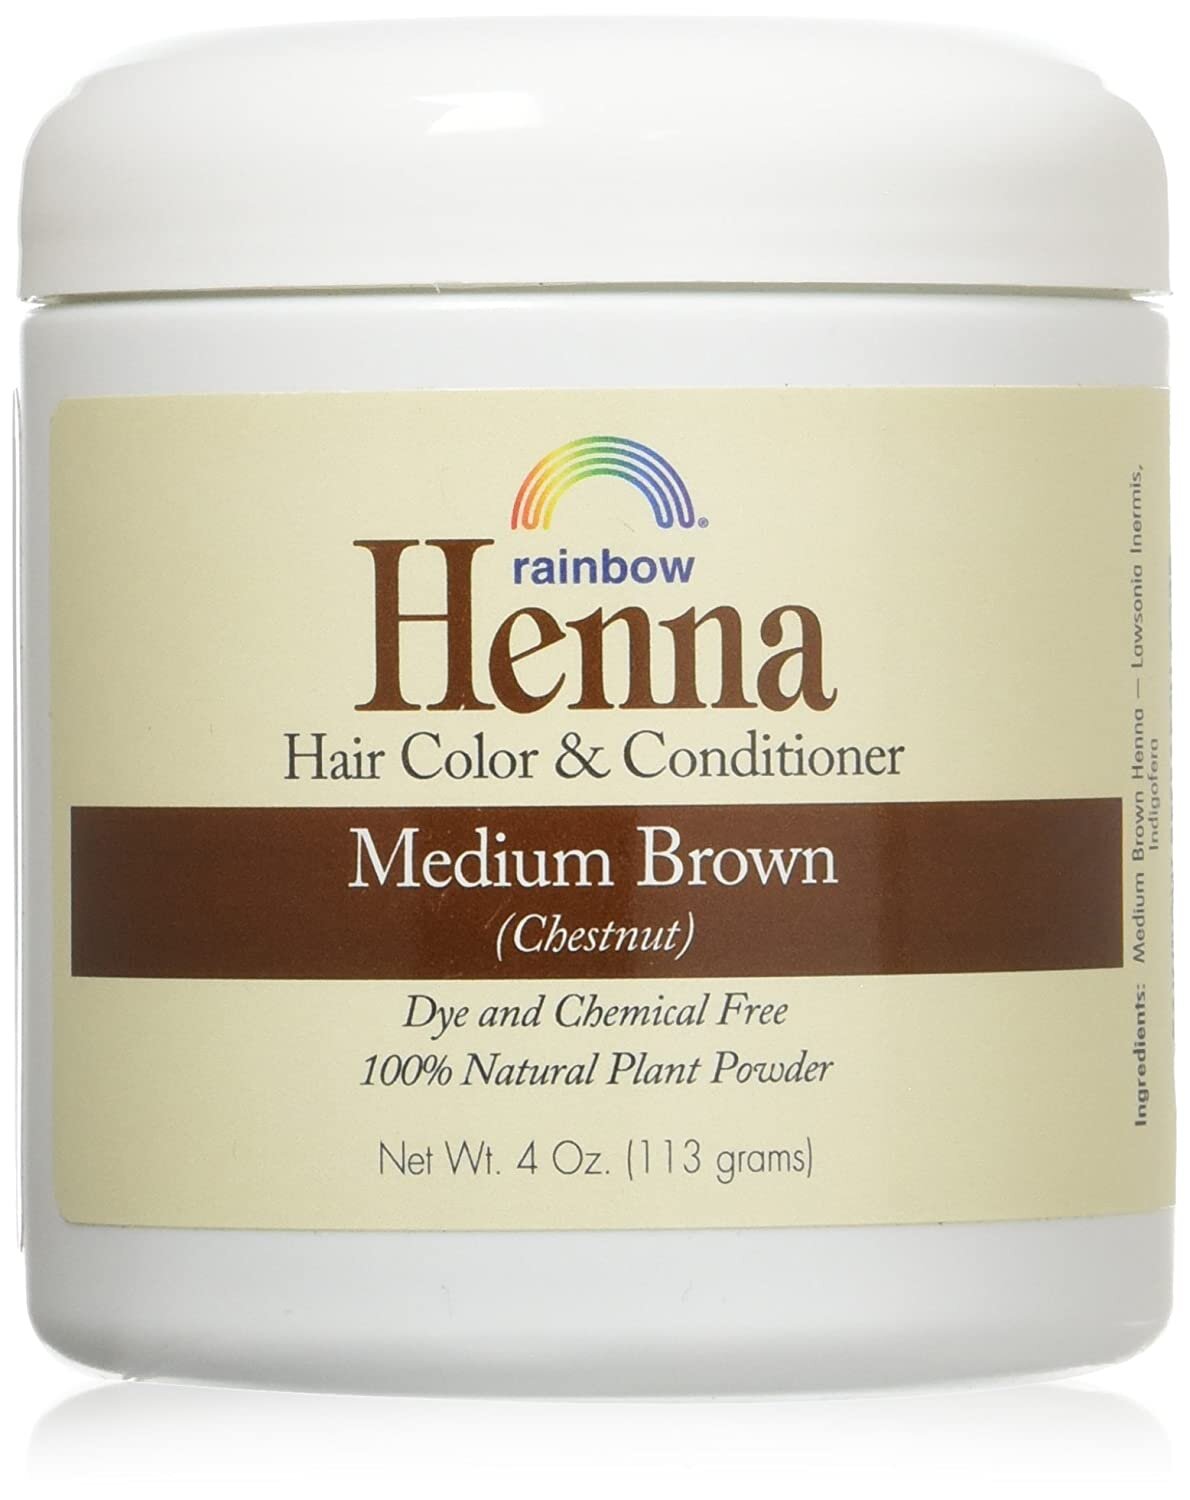
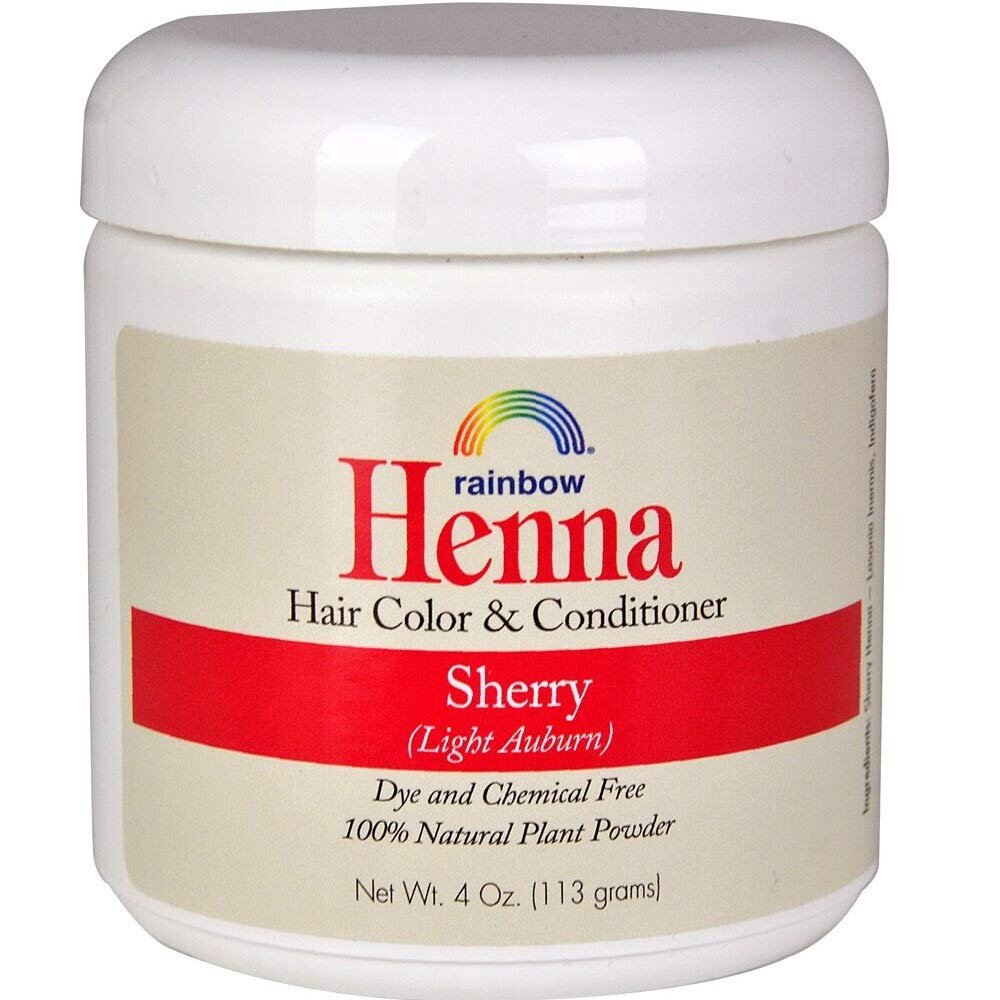
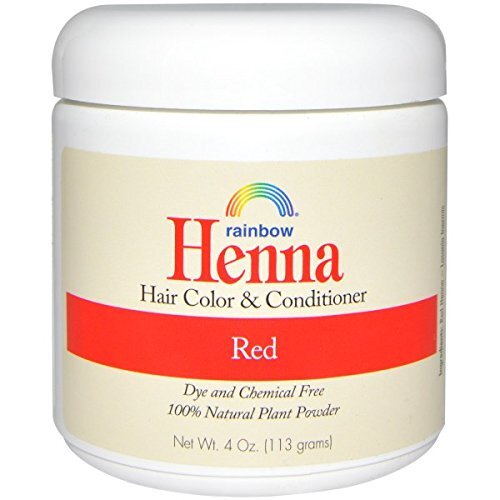
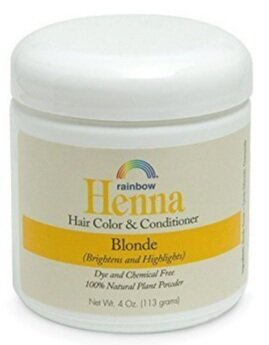
Rainbow Henna review
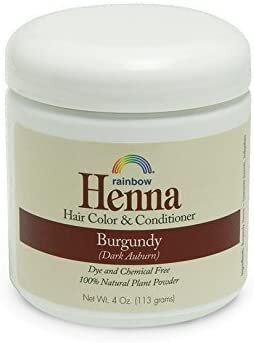
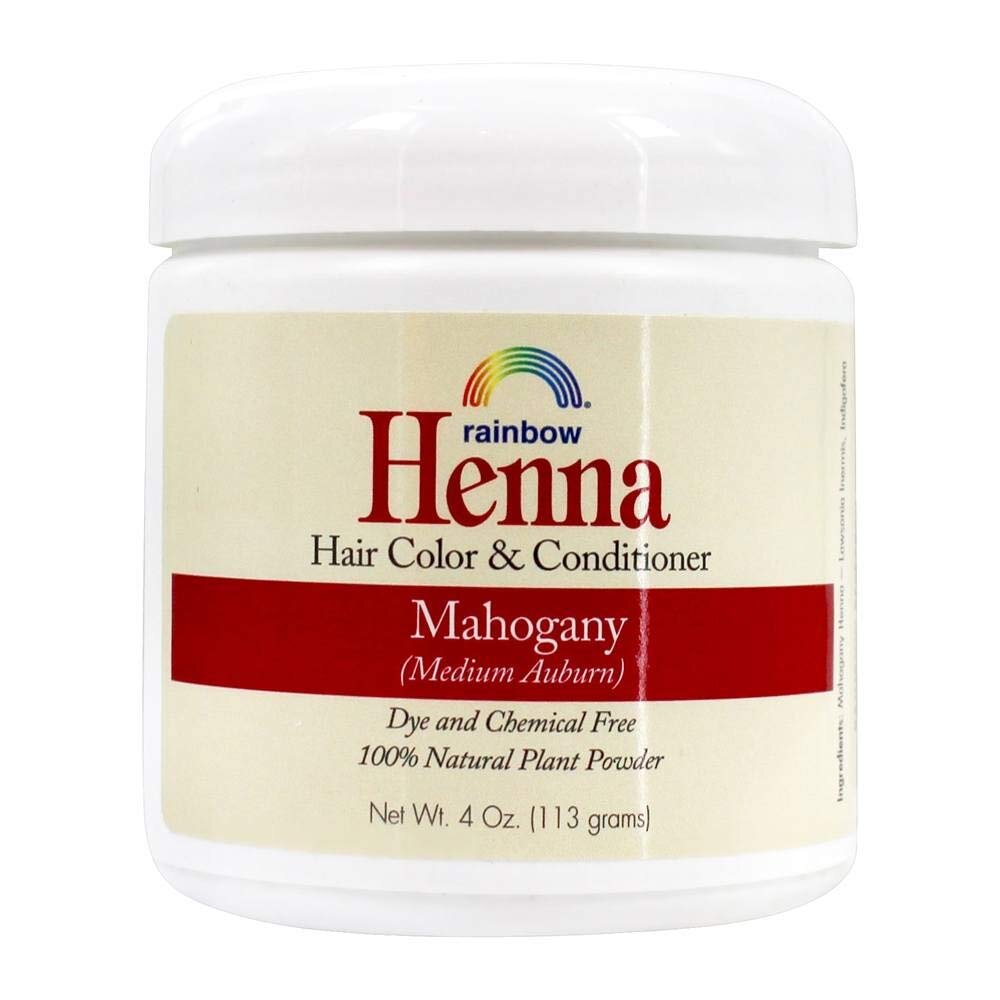
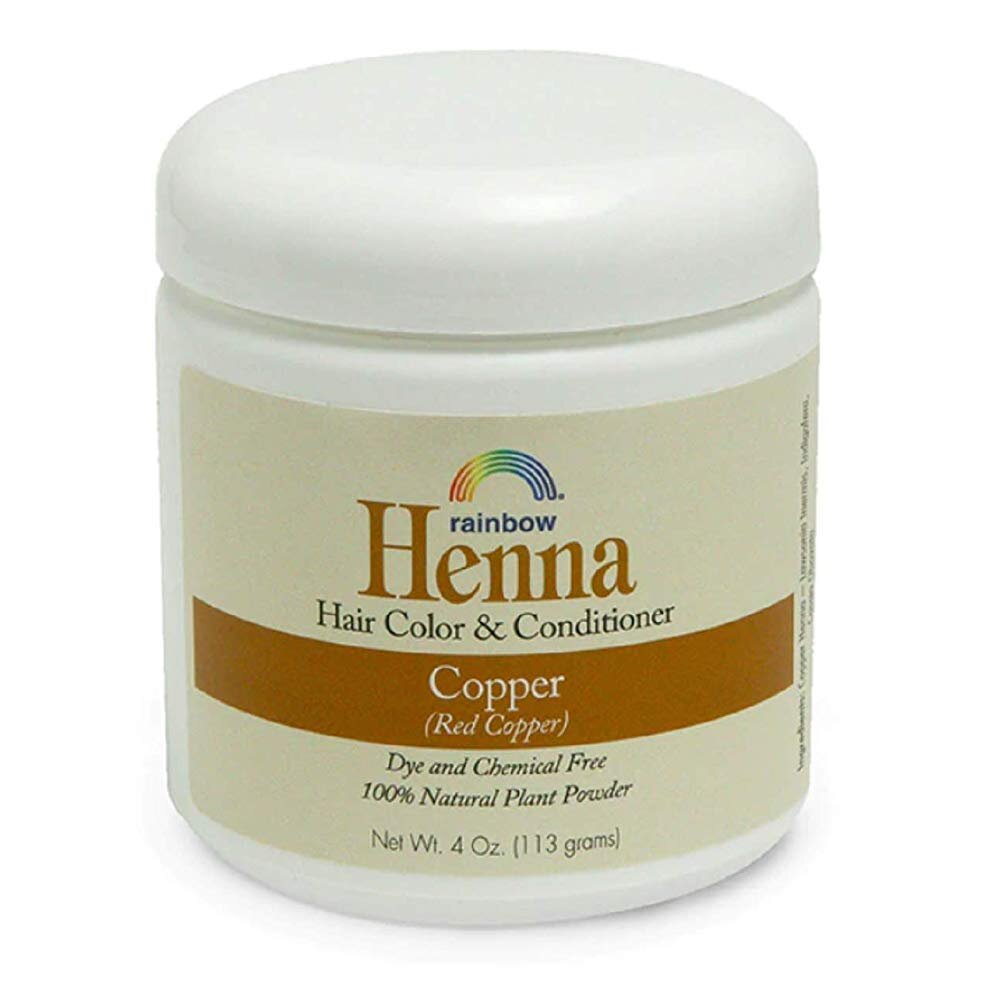
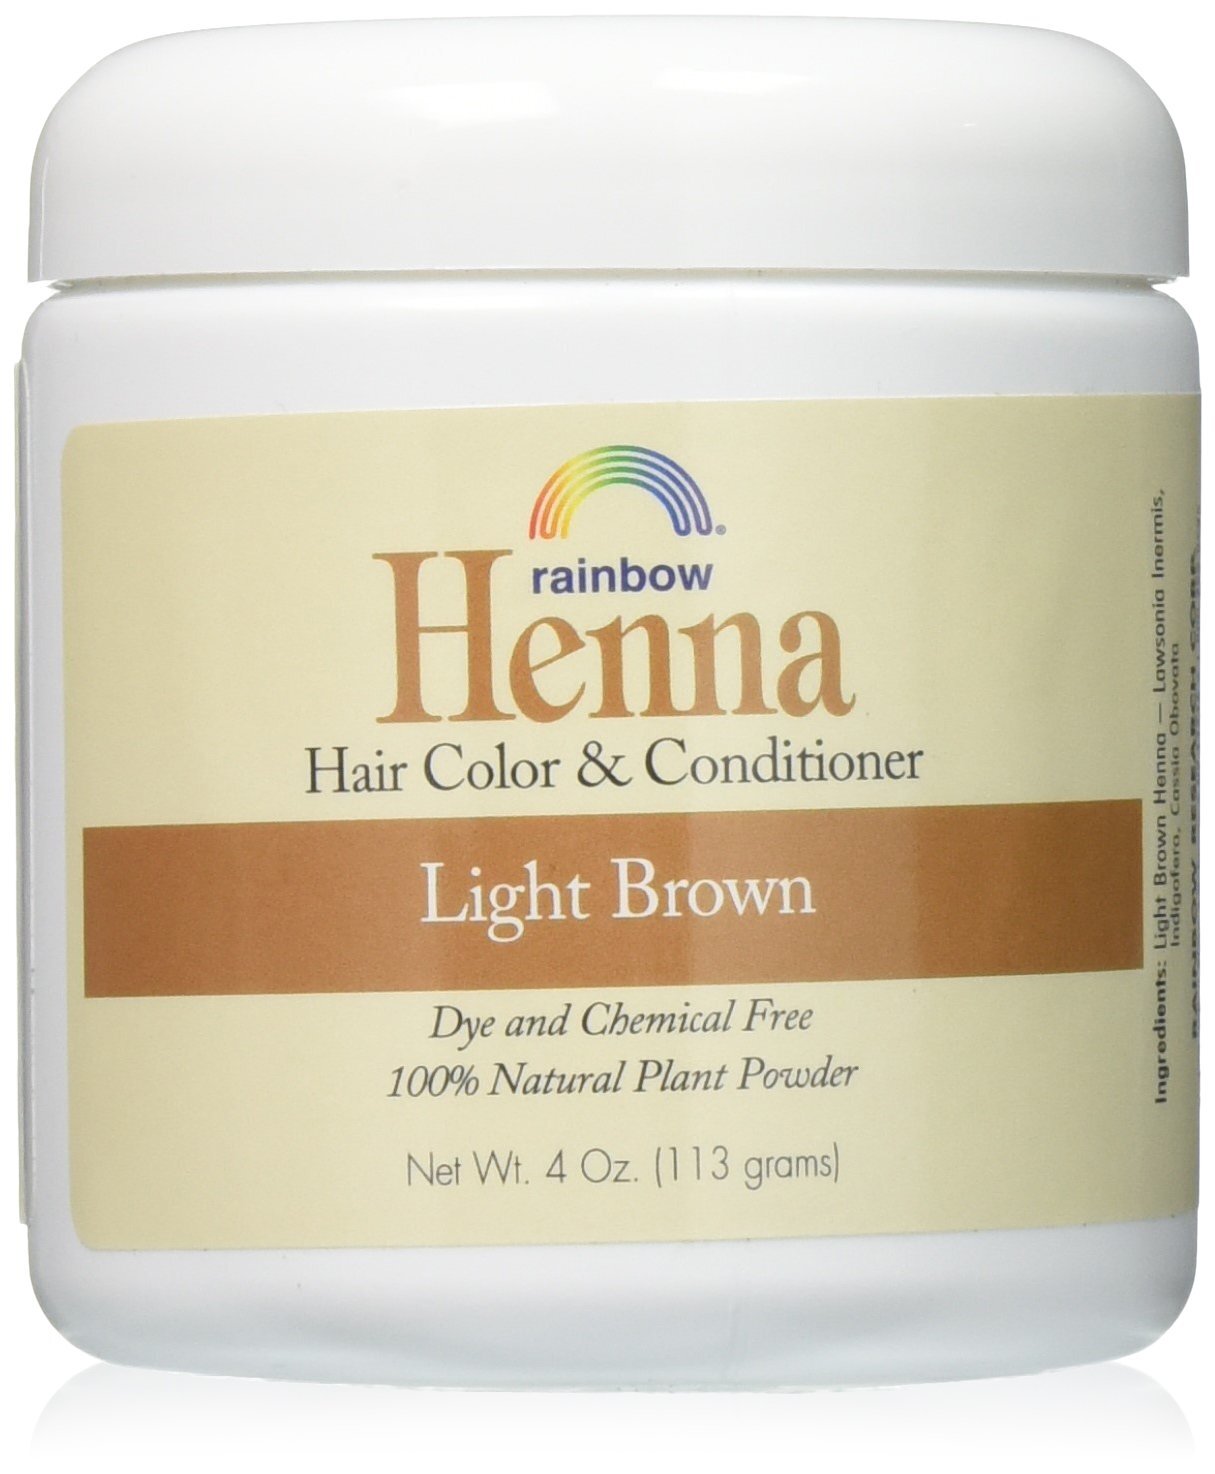
Pick a colour - there are loads! If you have really long or thick hair, you might want two pots just in case. My hair is long and I have a lot of it, but the strands are fine so I only needed 3/4 of a pot.
You’ll also need a plastic or glass bowl, a plastic or wooden spoon for mixing (metal does something weird to the dye so don’t use an ordinary spoon), a dying brush or comb with a pointy but on the end, gloves so you don’t stain your hands, something to cover the floor with, and some kind of oil or petroleum jelly to put on your face and neck so the henna easily comes off your skin. As with all henna, it’s a little messy.
Preparation
As with Lush Henna, you’ll need to mix Rainbow Henna with water to make it into a paste. Rainbow Henna comes in powder form is astronomically easier to dissolve than Lush Henna.
If you’re covering greys with a dark colour, you will need:
A pot of hot brewed coffee (not instant) and apple cider vinegar. The coffee takes the red shades out of the dye and the apple cider vinegar helps the greys latch on to the colour.
In the glass or plastic bowl, put in as much henna as you think you’ll need and gradually add the coffee. You’re looking for pancake batter consistency. Gloopy, but not too thick. Add about a tablespoon of vinegar and mix it in.
I put my glass bowl in a saucepan with a small amount of boiling water in the bottom to keep the dye warm. Like you’d do if melting chocolate.


Application
The directions say you can apply it to wet or dry hair, but I chose dry. I felt like the colour might not stain as much if the hair was wet, but it’s entirely up to you. It also says to apply on clean hair, but I think this is to ensure there are no styling products that would get in the way. I think it had been about two days since I washed it, but don’t really use gels or anything in my hair so I figured it was fine.
If you’ve got someone to apply it for you, use them. I have done it myself and had someone else do it, and it will save you loads of time and cleaning up if someone else does it.
Either way, start with the roots and move on to the length once all the roots are completely covered. The best way to do that is with a dye brush, but if you’re on your own that might be hard so use your fingers as best you can. It still works without a brush.
You want to do the roots first because henna is thick. It’s so thick that if you cover the length and the root at the same time, you’ll have a lot of trouble moving the length out of the way to get to the parts that haven’t been coloured. You’ll thank me later.
When you feel like it’s done, your hair should look all thick and ropey - like Tarzan’s hair.
Lift it up and twist it in to a high bun on top of your head. Smooth it down and it’ll stay there on its own. If it doesn’t, fashion a headband out of a piece of cloth and tie it up. A hair elastic probably won’t fit around it.

Washing it out
Getting this stuff out is an effort. Don’t bother trying to do it in the sink, you will need to have a full shower. But I did notice it wasn’t nearly as messy as getting Lush Henna out - the shower looked significantly cleaner after.
Rinse and rinse until the water runs clear.
You’re not supposed to use shampoo for about 48 hours after putting henna in your hair to give the dye the best chance of staining your hair. This will be hard because it will feel gritty, but put some non-silicone conditioner in, rope it through, and rinse again until there’s no grit left.
Dry it as you normally would.
You’ll need to wait about 48 hours before the henna has finished developing. If you feel like the greys are still there after you rinse it all out, wait a few days then make your mind up.
The result
I noticed an immediate improvement.
My hair was dark like I wanted and there was no red or copper tinge. On top of that, the greys were more or less the same colour as the rest of my hair. This is a huge change from Lush Henna, which left the greys all coppery. not a huge problem because I guess they weren’t grey anymore, but not ideal. Rainbow Henna literally covered them all. I was shocked.
While my hair did feel ridiculously gritty for a few days until I was able to use shampoo again, the colour is pretty much exactly what I wanted.

Lush Henna vs Rainbow Henna
Rainbow Henna was about 100% better for so many reasons.
Time. To get your hair a darker colour, Lush Henna requires two separate applications. One takes two hours and the other takes four. And that’s just the developing time, not the preparation. Rainbow Henna took about 2.5 hours from beginning to end.
Preparation. Lush Henna comes in big blocks that have to be cut up really finely. Rainbow Henna comes in powder form so most of the work has already been done. Again, this saves a heap of time and washing - you don’t need a knife or chopping board.
Ingredients. Lush Henna is full of shea butter and Rainbow Henna is not. This makes a huge difference when you rinse it all out. Shea butter makes my hair look really greasy and I literally can’t not shampoo it out, but on the other hand it does make your hair feel nice afterwards than Rainbow Henna, which feels gritty after.
Cost. Lush Henna is about $25 per block. Seeing as I use red and mix brown and black, it costs me about $75 in total. Rainbow Henna costs $10 for a pot that covers my whole head in one go.
Result. Rainbow Henna coloured my hair in a way that Lush Henna never did, even though Lush stayed in my hair for twice as long. Ultimately, it covered all my greys and basically made them the same colour as the rest of my head. That’s all I was after, so Rainbow Henna wins hands-down.